【Other】設定 GPG 來讓你的 commit 加上簽名
GPG (GnuPG 的簡稱)是一種加密通訊的工具,可以用來加密、解密、簽名等等,而在 git 中可以用來為 commit 加上簽名,讓其他人知道這個 commit 是你做的。
GPG (GNU Privacy Guard)
GPG (GNU Privacy Guard) 是一種用於加密和數位簽章的開源工具,基於 OpenPGP 標準。它主要用來保障數位通信的機密性、完整性和身份驗證。 GPG 透過非對稱加密技術,使用一對公鑰和私鑰來進行加密和解密。
GPG 的主要功能:
-
加密/解密資料:可以加密電子郵件或文件,讓只有擁有私鑰的人才能解密。
-
數位簽章:透過簽章,確保文件未被篡改,並證明文件的來源。
-
身份驗證:可以驗證對方的身份,確保通信是與正確的人進行的。
SSH (Secure Shell)
另外一個常聽到的 SSH (Secure Shell) 則是用於遠端連線和資料傳輸的協議,主要用來保護在不安全網路上傳輸的數據。SSH 同樣使用公鑰/私鑰對來進行身份驗證,但它的用途偏向於連線控制和資料加密。
SSH 的主要功能:
- 遠端登入:提供安全的遠端伺服器登入,通常用於管理 Linux 伺服器。
- 資料加密:保護傳輸中的資料不被攔截或竊取。
- 身份驗證:透過公鑰/私鑰對進行無密碼的身份驗證。
Mac 安裝 GPG
最簡單的方式是透過 Homebrew 安裝:
brew install gnupg
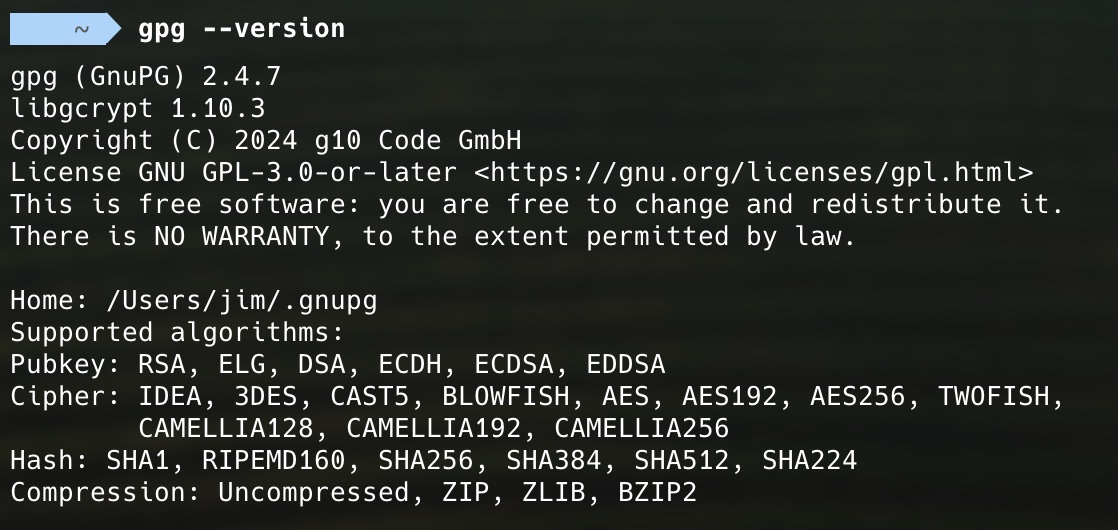
gnupg 之前有分 gpg 跟 gpg2,不過從 2.x 版本後統一叫做 gpg,不再有 gpg2 這個指令,用 Homebrew 安裝 gpg2 時,因為 gpg2 已被設置為 gpg 的 alias,所以下載下來都會是同一個檔案,如果你 download gpg2 還是要下 gpg --version 才能看到版本。

下載 gpg 要蠻久時間,要有耐心等待~
產生 GPG 金鑰
gpg --full-generate-key # 完整 (推薦)
gpg --generate-key # 簡易
用 gpg --generate-key 產生的金鑰,會先幫你預設好一些值,只需要填入你的名字、Email、密碼即可。
預設值:
- 加密類型:ed25519(ECC)
- 有效期限:3 年
而 gpg --full-generate-key 可以讓你自己選擇加密類型、有效期限等等。
gpg (GnuPG) 2.4.7; Copyright (C) 2024 g10 Code GmbH
This is free software: you are free to change and redistribute it.
There is NO WARRANTY, to the extent permitted by law.

Please select what kind of key you want:
   (1) RSA and RSA
   (2) DSA and Elgamal
   (3) DSA (sign only)
   (4) RSA (sign only)
   (9) ECC (sign and encrypt) *default*
  (10) ECC (sign only)
  (14) Existing key from card
Your selection? 9
Please select which elliptic curve you want:
   (1) Curve 25519 *default*
   (4) NIST P-384
   (6) Brainpool P-256
Your selection? 1
Please specify how long the key should be valid.
         0 = key does not expire
      <n>  = key expires in n days
      <n>w = key expires in n weeks
      <n>m = key expires in n months
      <n>y = key expires in n years
Key is valid for? (0) 0
Key does not expire at all
Is this correct? (y/N) y

GnuPG needs to construct a user ID to identify your key.

Real name: Jim
Email address: jim.huang112@gmail.com
Comment:
You selected this USER-ID:
    "Jim <jim.huang112@gmail.com>"

Change (N)ame, (C)omment, (E)mail or (O)kay/(Q)uit? O
We need to generate a lot of random bytes. It is a good idea to perform
some other action (type on the keyboard, move the mouse, utilize the
disks) during the prime generation; this gives the random number
generator a better chance to gain enough entropy.
We need to generate a lot of random bytes. It is a good idea to perform
some other action (type on the keyboard, move the mouse, utilize the
disks) during the prime generation; this gives the random number
generator a better chance to gain enough entropy.
gpg: revocation certificate stored as '/Users/jim/.gnupg/openpgp-revocs.d/YOUR_GPG_KEY.rev'
public and secret key created and signed.

pub   ed25519 2025-01-02 [SC]
      <YOUR_GPG_KEY>
uid                      Jim <jim.huang112@gmail.com>
sub   cv25519 2025-01-02 [E]
當產生 GPG 金鑰後,會同時生成公鑰與私鑰,公鑰可以公開給他人用來加密訊息,私鑰則是用來解密的,所以私鑰要妥善保管不要外流。
查看 GPG 金鑰
公鑰:
gpg --list-keys
私鑰:
gpg --list-secret-keys
測試 GPG 金鑰
可以下以下指令測試是否成功:
echo "test" | gpg --clearsign
如果是 Mac 的話,可能會出現以下錯誤:
gpg: signing failed: Inappropriate ioctl for device
gpg: [stdin]: clear-sign failed: Inappropriate ioctl for device
這是因為 GPG 嘗試從終端機中讀取密碼短語(passphrase),但由於沒有互動式 TTY(終端會話)
需要在 ~/.bashrc 或 ~/.zshrc 中加上 export GPG_TTY=$(tty),重新開啟終端機後再下指令就會跳出密碼輸入框,輸入成功後就可以看到簽名後的結果。
在 git commit 加上簽名
git config --global user.signingkey <YOUR_GPG_KEY>
如果只想在某個專案中使用 GPG 簽名,可以把 --global 拿掉,這樣就只會在這個專案中使用 GPG 簽名。
再來下 commit 時加上 -S 就可以了,例如:
git commit -m "Add new feature" -S
要確認 commit 是否有簽名,可以下以下指令:
git log --show-signature
如果有加上簽名的就會在 commit 後面顯示 gpg: Signature made ...。
如果不想每次都加上 -S,可以在 git 設定中加上:
git config --global commit.gpgSign true
如果你習慣用 Vscode 內建的 commit 功能,可以在 Vscode 的設定中搜尋 git commit,然後把 Git: Enable Commit Signing 打勾,這樣就會自動幫你加上簽名了。

在 github 上顯示 GPG 簽名
要在 github 上顯示 GPG 簽名,需要先把公鑰加到 github 上,需要先把 key 轉成 ASCII 格式:
gpg --armor --export <YOUR_GPG_KEY>
會顯示出公鑰,把這段文字複製下來,然後到 github Settings > SSH and GPG keys > New GPG key,然後把公鑰貼上去,之後每次的 commit 在 gitlab 上就會看到 Verified 的字樣。

如果要移除 commit gpg 的簽名,可以用 rebase 到特定 commit 下指令:
git commit --amend --no-gpg-sign
在 gitlab 上顯示 GPG 簽名
前面的步驟跟 github 一樣,得到公鑰後到 gitlab Edit Profile > GPG Keys > Add GPG Key,然後把公鑰貼上去。

設定 GPG 快取
預設 GPG 會在每次 commit 時都要輸入密碼,可以設定快取的時間,讓密碼在一段時間內不用再輸入。
vi ~/.gnupg/gpg-agent.conf
會在 ~/.gnupg/ 下生成一個 gpg-agent.conf 檔案並開啟 vim 編輯器,加上以下內容:
default-cache-ttl 86400 # 24 小時
max-cache-ttl 604800 # 7 天
- default-cache-ttl 是每次輸入密碼後,密碼會在 24 小時內不用再輸入。
- max-cache-ttl 是強制每 7 天都要重新輸入密碼。
然後重新啟動 gpg-agent:
gpgconf --reload gpg-agent
確認是否設定成功:
gpgconf --list-options gpg-agent
刪除 GPG 金鑰
因為有公鑰與私鑰,所以要刪除兩個 key,而要先刪除私鑰才可以刪除公鑰。
gpg --delete-secret-keys <YOUR_GPG_KEY>
gpg --delete-keys <YOUR_GPG_KEY>
上傳 GPG 金鑰到公鑰伺服器
通常預設的伺服器是 hkp://keyserver.ubuntu.com,比較推薦改成 hkps://keys.openpgp.org,這是由 OpenPGP 標準社群維護的伺服器,而且也有網站可以直接查詢。
先建立一個 ~/.gnupg/gpg.conf 檔案,加上以下內容:
keyserver hkps://keys.openpgp.org
查看 gpg config:
gpg --list-options gpg
然後上傳金鑰:
gpg --send-keys <YOUR_GPG_KEY>
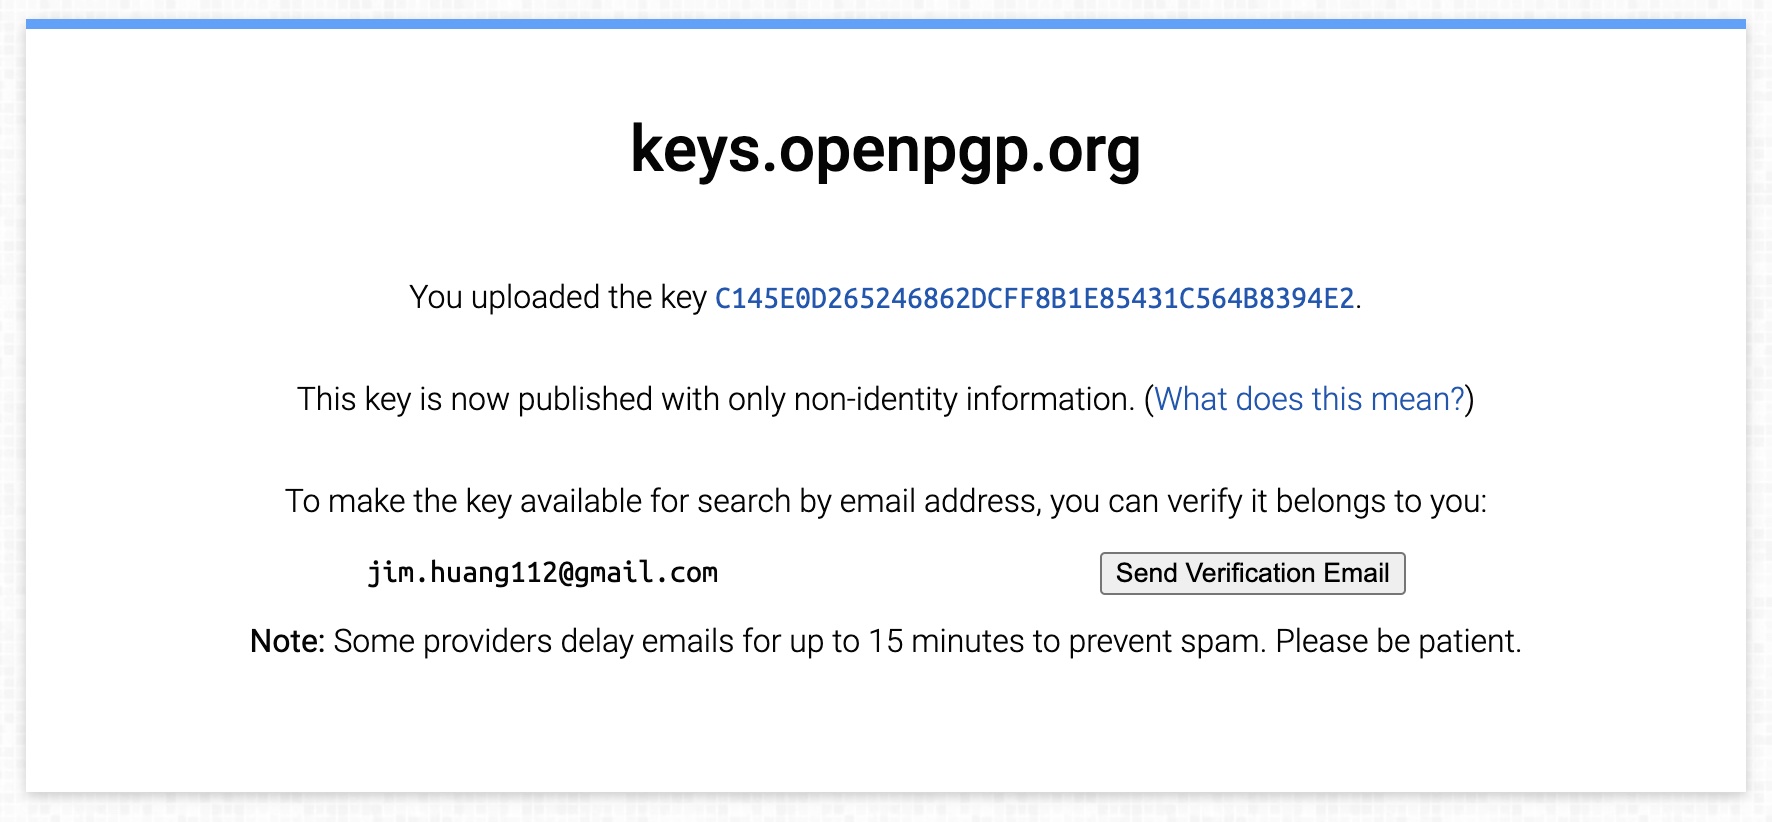
keyserver 會寄一封信到你的信箱,可以進行確認並驗證信箱,這樣之後別人就可以透過你的 Email 查詢到你的公鑰。


註銷 GPG 金鑰
在產生金鑰時,有段文字寫:
gpg: revocation certificate stored as '/Users/jim/.gnupg/openpgp-revocs.d/YOUR_GPG_KEY.rev'
這是用來撤銷金鑰的檔案,會使密鑰無效,這樣別人就算偷到你的密鑰也沒辦法使用,用以下指令:
gpg --import YOUR_PATH_TO_YOUR_GPG_KEY.rev
如果你直接下這個指令,會出現以下錯誤
gpg: no valid OpenPGP data found.
gpg: Total number processed: 0
找了很久才發現 .rev 檔案裡面有說明,先用 cat 指令看一下裡面的內容:
cat YOUR_PATH_TO_YOUR_GPG_KEY.rev
裡面有一段文字
To avoid an accidental use of this file, a colon has been inserted before the 5 dashes below. Remove this colon with a text editor before importing and publishing this revocation certificate.
意思是說:為了避免意外使用此文件,已在以下 5 條破折號之前插入了一個冒號。在導入和發布此撤銷證書之前,請使用文本編輯器刪除此冒號。
所以先用 vim 或是其他編輯器打開,刪除冒號後再導入,就會顯示 revocation certificate imported 註銷證書已導入,這時候如果下 gpg --list-keys 就會看到 [revoked] 的字樣。
註銷完金鑰後,如果已經上傳公鑰到公鑰伺服器上,還需要將「註銷狀態」同步到公鑰伺服器,這樣其他人才能知道該鑰匙已無效。
gpg --send-keys <YOUR_GPG_KEY>
GPG 被鎖住
如果你在使用 GPG 時,突然發現無法使用,一直跑出 gpg: Note: database_open xxxxx waiting for lock (held by xxxxx),可能是因為 GPG 被鎖住了。

可以先看這個 process 在不在,如果存在就 kill 掉:
ps aux | grep gpg
kill -9 <PID>
如果不存在可以刪掉所有 .lock 的檔案:
rm ~/.gnupg/**/*.lock
GPG 快捷鍵
因應不同專案會需要不同的 GPG 金鑰,我寫了 .zshrc 的 function script 來設定 GPG sign key
- gpgf : 設定全域 commit gpgsign flag 要不要開啟
- gpgs : 設定該專案要使用哪一個 GPG key (需先設定 GPG key)
參考資料
https://blog.miniasp.com/post/2020/05/04/How-to-use-GPG-sign-git-commit-and-tag-object