[Day 21] React + Jest Redux Toolkit Query 測試
在 Day14 有提到串接 API 使用 @tanstack/react-query 來管理狀態,而在 redux toolkit 也有提供 redux toolkit query 來管理狀態,這邊就來看一下如何使用 redux toolkit query 來測試。
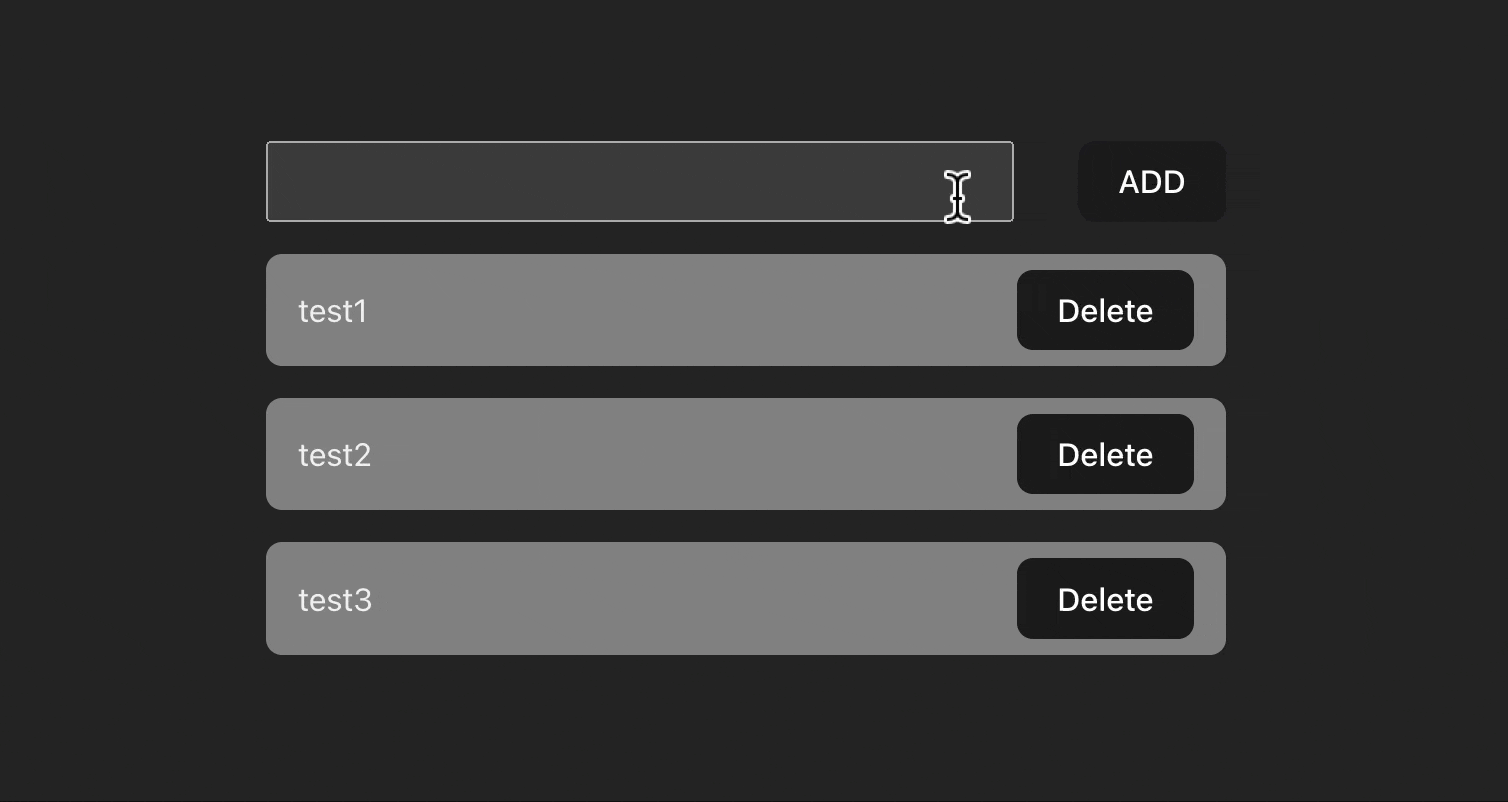
這邊建一個可以增減項目並隨時更新的 itemList,並使用 MSW 來模擬 API 的回傳。
程式碼
建立 servers/itemList.ts 的檔案,使用 createApi 來建立 API,分別有 getList、addItem、removeItem 三個函式,來管理 itemList 的狀態:
export const itemListApi = createApi({
  reducerPath: "itemListApi",
  baseQuery: customBaseQuery,
  tagTypes: ["Item"],
  endpoints: (builder) => ({
    getList: builder.query<ItemType[], void>({
      query: () => "/list",
      providesTags: ["Item"],
    }),
    addItem: builder.mutation<ItemType[], ItemType>({
      query: (item) => ({
        url: "/add",
        method: "POST",
        body: item,
      }),
      invalidatesTags: ["Item"],
    }),
    removeItem: builder.mutation<ItemType[], number>({
      query: (id) => ({
        url: "/delete",
        method: "DELETE",
        body: { id },
      }),
      invalidatesTags: ["Item"],
    }),
  }),
});

export const { useGetListQuery, useAddItemMutation, useRemoveItemMutation } =
  itemListApi;
接著在 ItemListPage 裡面引用函式:
import {
  useAddItemMutation,
  useGetListQuery,
  useRemoveItemMutation,
} from "@/servers/itemList";
import { useState } from "react";
import styled from "./index.module.scss";

export const ItemListPage = () => {
  const [inputValue, setInputValue] = useState < string > "";

  const { data: listQueryData, isLoading: isListQueryLoading } =
    useGetListQuery();

  const [addItem] = useAddItemMutation();
  const [removeItem] = useRemoveItemMutation();

  const addItemHandler = () => {
    if (inputValue) {
      addItem({ title: inputValue, id: Math.random() });
      setInputValue("");
    }
  };

  const deleteHandler = (id: number) => {
    removeItem(id);
  };

  if (isListQueryLoading) return <div>Loading...</div>;

  if (listQueryData) {
    return (
      <div className={styled.container}>
        <div className={styled.inputBlock}>
          <input
            type='text'
            value={inputValue}
            onChange={(e) => setInputValue(e.target.value)}
          />
          <button onClick={addItemHandler}>ADD</button>
        </div>
        <ul>
          {listQueryData.map((item) => (
            <li key={item.id}>
              <span>{item.title}</span>
              <button onClick={() => deleteHandler(item.id)}>Delete</button>
            </li>
          ))}
        </ul>
      </div>
    );
  }
  return null;
};
RTK Query 測試
要測試 RTK Query 裡的函式,需要用到 RTK 的 store.dispatch() 來進行呼叫,測試程式碼會是這樣:
import { data } from "@/mocks/handlers/itemList";
import { ItemType, itemListApi } from "./itemList";

import { store } from "@/store";

describe("Redux Toolkit Query API Tests", () => {
  it("當 store dispatch getList 函式,回傳三個正確的 data", async () => {
    const result = await store.dispatch(
      itemListApi.endpoints.getList.initiate()
    );
    expect(result.data?.length).toEqual(3);
    expect(result.data).toEqual(data);
  });

  it("當 store dispatch addItem 函式,傳入 mockItem,回傳四個正確的 data", async () => {
    const mockItem = {
      id: 4,
      title: "test 4",
    };
    const result = (await store.dispatch(
      itemListApi.endpoints.addItem.initiate(mockItem)
    )) as { data: ItemType[] };

    expect(result.data.length).toEqual(4);
    expect(result.data).toEqual(data);
  });

  it("當 store dispatch removeItem 函式,傳入 id 1,回傳三個正確的 data", async () => {
    const mockId = 1;
    const result = (await store.dispatch(
      itemListApi.endpoints.removeItem.initiate(mockId)
    )) as { data: ItemType[] };

    expect(result.data.length).toEqual(3);
    expect(result.data).toEqual(data);
  });
});
這邊一樣使用 MSW 已經寫好的 data 來進行斷言的判斷。
ItemListPage 測試
ItemListPage 的測試 就會相對比較容易,可以測試的情況有很多,這邊就先列出基本的功能測試:
describe("ItemListPage testing", () => {
  it("初始畫面顯示 mock data 所有正確的 title", async () => {});
  it("當使用者輸入「test4」,呼叫 mockAddItemMutation 傳入 {title: 'test4'}", async () => {});
  it("當使用者點擊第一個 Delete 按鈕,呼叫 mockRemoveItemMutation 傳入 1", async () => {});
});
測試程式碼:
import { data } from "@/mocks/handlers/itemList";
import {
  useAddItemMutation,
  useGetListQuery,
  useRemoveItemMutation,
} from "@/servers/itemList";
import { render, screen } from "@testing-library/react";
import userEvent from "@testing-library/user-event";
import { ItemListPage } from "./index";

jest.mock("@/servers/itemList", () => ({
  useGetListQuery: jest.fn(),
  useAddItemMutation: jest.fn(),
  useRemoveItemMutation: jest.fn(),
}));

describe("ItemListPage testing", () => {
  const user = userEvent.setup();
  const mockListQueryData = data;

  const mockAddItemMutation = jest.fn();
  const mockRemoveItemMutation = jest.fn();

  (useGetListQuery as jest.Mock).mockReturnValue({
    data: mockListQueryData,
    isLoading: false,
  });
  (useAddItemMutation as jest.Mock).mockReturnValue([mockAddItemMutation]);
  (useRemoveItemMutation as jest.Mock).mockReturnValue([
    mockRemoveItemMutation,
  ]);
  beforeEach(() => {
    render(<ItemListPage />);
  });

  afterEach(() => {
    jest.clearAllMocks();
  });

  it("初始畫面顯示 mock data 所有正確的 title", async () => {
    mockListQueryData.forEach((item) => {
      const itemElement = screen.getByText(item.title);
      expect(itemElement).toBeInTheDocument();
    });
  });

  it("當使用者輸入「test4」,呼叫 mockAddItemMutation 傳入 {title: 'test4'}", async () => {
    const inputElement = screen.getByRole("textbox");
    const addButtonElement = screen.getByText("ADD", {
      selector: "button",
    });

    await user.type(inputElement, "test4");
    await user.click(addButtonElement);

    expect(mockAddItemMutation).toHaveBeenCalledWith({
      title: "test4",
      id: expect.any(Number),
    });
  });

  it("當使用者點擊第一個 Delete 按鈕,呼叫 mockRemoveItemMutation 傳入 1", async () => {
    const deleteButtonElement = screen.getAllByText("Delete", {
      selector: "button",
    })[0];

    await user.click(deleteButtonElement);

    expect(mockRemoveItemMutation).toHaveBeenCalledWith(1);
  });
});
結論
Redux toolkit Query 在測試時,相較於一般的 redux 或是 react-query 的 API 測試會相對複雜,需要考慮的因素比較多,在寫 RTK Query 在測試時,也花了很多時間在研究,希望這篇文章可以幫助到大家。